
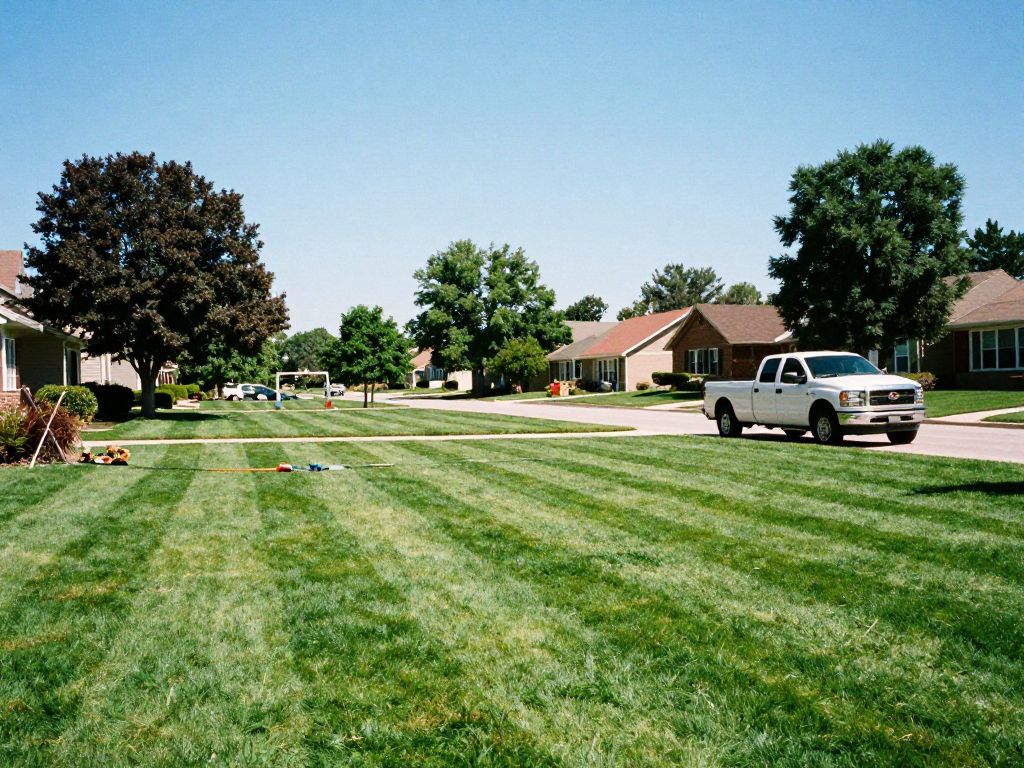
Final Turf Installation Checklist: What To Verify Before You Call It “Done”
If you’re searching for a final turf installation checklist, you’re probably at (or near) the finish line of your project—and wondering, “Did we actually do this right?”
Here’s the quick answer:
- Your turf should sit flat, smooth, and secure with no ripples or bubbles.
- Seams should be almost invisible from a normal standing distance.
- Edges must be properly secured and neatly finished.
- Infill should be evenly distributed, with blades standing upright.
- Drainage should be tested and working.
- The area should be cleaned up, tools removed, and turf brushed.
If you can confidently check off each of these, your turf installation is likely in good shape. If not, this final turf installation checklist will walk you through what to look for, step-by-step.
Why a Final Turf Installation Checklist Matters
Artificial turf is meant to be low-maintenance and long-lasting—but only if the installation is done correctly. The last 5–10% of the process often determines:
- How real your turf looks
- How safe it feels underfoot
- How long it lasts without repairs
- Whether it drains properly in heavy rain
A structured final turf installation checklist helps you:
- Catch small mistakes before they become expensive problems
- Speak clearly with your installer about any issues
- Feel confident using the space for kids, pets, sports, or hosting
Think of this as your “walkthrough guide” before you sign off on the project.
Step 1: Surface & Grading – Is the Foundation Truly Ready?
Even though you may not see the base anymore, the way it was prepared will show through the turf.
Check for:
-
Overall flatness with intentional slope
- The area should be smooth with a slight slope away from structures.
- No “birdbaths” or low spots where water could collect.
-
No soft or spongy areas
- Walk the entire surface slowly.
- Press down with your heel. Any unusually soft spot may indicate poor compaction.
-
Stable edging around the perimeter
- Concrete, bender board, pavers, or other edging should form a clear boundary.
- No loose sections or shifting when you press gently.
If something feels uneven now, it will be more obvious later. Your final turf installation checklist should always start from the ground up.
Step 2: Turf Positioning – Is the Layout Correct?
Before you zoom in on seams or blades, look at the big-picture layout.
Verify:
-
Pile direction is consistent
- Stand back and look at the turf from multiple angles.
- All turf pieces should lean in the same direction or follow a planned pattern.
- Mismatched grain direction can make seams obvious and color appear uneven.
-
No tension or overstretching
- The turf should sit naturally on the base—snug, but not pulled tight.
- Overstretched turf can shrink back later and create wrinkles.
-
Coverage is complete
- Turf should reach all intended edges with no exposed base, gaps, or unintended bare strips.
This part of your final turf installation checklist is about making sure the canvas is correctly placed before inspecting the details.
Step 3: Seams – Are They Clean, Tight, and Subtle?
Seams are one of the easiest ways to tell a good installation from a rushed one.
Use this checklist:
-
Visibility from standing height
- Stand normally, a few steps back.
- A professional seam should be hard to notice unless you’re looking for it.
-
No gaps or overlaps
- Edges of turf should meet edge-to-edge, not overlap.
- No visible gaps, fraying strands, or open spaces.
-
Consistent blade direction across the seam
- Fibers on both sides should lean the same way.
- Misaligned seams catch light differently and stand out.
-
Secure bonding
- Gently tug sideways near the seam.
- The seam should not open up or lift easily.
If seams look like obvious lines or “train tracks,” note this on your final turf installation checklist to discuss with your installer.
Step 4: Edges & Borders – Are Perimeters Safe and Finished?
Edges matter for safety, durability, and appearance.
Check all around the perimeter:
-
No curling or lifting
- Edges should lie completely flat.
- No corners peeling up, even slightly.
-
Proper fastening
- Ask how edges were secured (nails, staples, glue, or a combination).
- Lightly tug upward at random spots—nothing should come loose.
-
Clean transitions
- Where turf meets concrete, pavers, mulch, or natural grass, the line should be straight and deliberate.
- No ragged cuts or uneven gaps.
-
Trip-risk check
- Walk the border slowly.
- Feel for any raised edges that could catch a shoe, especially near walkways or patios.
Your final turf installation checklist should ensure edges are as thoughtfully finished as the center of the field or lawn.
Step 5: Infill – Is It Even and Adequate?
Infill supports the turf blades, affects cooling, and helps with stability.
Evaluate the infill with this mini-checklist:
-
Uniform feel underfoot
- Walk the whole area in different directions.
- It should feel consistently firm but cushioned—no “crunchy” patches, no hollow or low spots.
-
Even blade support
- Blades should stand up, not lay matted in areas that should be upright.
- If you see flat “traffic” lines on day one, infill distribution may be uneven.
-
No infill piles or bare patches
- Look for mounds along seams, low pockets in corners, or bare areas where infill is sparse.
-
Appropriate depth
- Ask your installer what infill type and depth they used.
- Compare that to the turf manufacturer’s recommendation (usually 1–3 lbs per sq ft, depending on turf type and use).
Infill is a key line item in any final turf installation checklist because it directly affects performance over time.
Step 6: Brushing & Grooming – Does the Turf Look Finished?
A properly finished turf surface should look “alive,” not flattened.
Confirm the final grooming:
-
Blades standing upright
- Fibers should not be lying flat in random directions.
- A power broom or stiff push broom should have been used to lift the blades.
-
Consistent appearance across the surface
- No “streaks” from brushing only in one direction.
- No obvious tool marks or inconsistent texture.
-
Natural look under sunlight
- Step back and view the turf from multiple angles.
- It should look even, soft, and consistent—more like a maintained lawn than a flat carpet.
Grooming is often one of the last items on your final turf installation checklist, but it makes a major visual difference.
Step 7: Drainage – Does Water Actually Go Somewhere?
Even the most beautiful turf will be frustrating if it holds water.
Drainage verification checklist:
-
Slope test
- Visually confirm the surface slopes slightly away from buildings or structures.
-
Water test (if possible)
- Lightly hose a representative area.
- Water should disappear into the turf and move through the base—not pool on the surface.
-
Check historical problem spots
- If the area had drainage issues before, pay extra attention there.
- Confirm new grading and base work have resolved them.
-
Edge & low-point inspection
- Look at drains, swales, or low points.
- Water should flow toward intended exit points, not collect along the turf’s edge.
Drainage performance is both a design and installation issue, and a non-negotiable part of a solid final turf installation checklist.
Step 8: Safety & Use-Readiness – Is It Ready for Real Life?
Your turf should be more than just attractive; it should feel safe and ready to use.
Review:
-
Trip and slip hazards
- No raised seams, edges, or abrupt height changes.
- No loose sections that might move underfoot.
-
Play area checks (if applicable)
- For playgrounds, verify there’s appropriate safety padding under key fall zones.
- Walk and lightly jump on high-use areas to ensure stable footing.
-
Pet area checks (if applicable)
- Confirm drainage is especially strong in pet zones.
- Ask about any specific cleaning or maintenance steps for pets.
-
Heat awareness
- Be aware that artificial turf can get warm in full sun.
- Ask your installer for best practices on cooling (rinsing, shade, infill type, etc.).
This part of the final turf installation checklist is about real-world use, not just appearance.
Step 9: Clean-Up & Documentation – Is the Project Truly Complete?
A finished installation isn’t just about the turf—it’s also about closure and clarity.
Confirm:
-
Site clean-up
- No leftover nails, infill bags, cut turf scraps, or debris.
- Walk edges, corners, and access paths to ensure full cleanup.
-
Tools and equipment removed
- No materials stored on your property unless agreed upon.
-
Care & maintenance guidance provided
- Ask for a simple maintenance overview:
- How often to brush
- How to rinse or clean
- What to avoid (e.g., open flames, harsh chemicals)
- Ask for a simple maintenance overview:
-
Warranty and contacts
- Get documentation for turf product and installation warranties.
- Confirm who to contact if issues appear in the first 30–90 days.
A good final turf installation checklist doesn’t end when the crew leaves; it includes your understanding of how to care for your new surface.
How the Final Turf Installation Checklist Fits Into Your Overall Project
The final turf installation checklist is just one part of the bigger picture. Before you reach this stage, you’ve already gone through:
- Planning and design
- Base preparation and compaction
- Turf cutting, fitting, and initial securing
To see how this end-of-project checklist connects to the rest of your timeline, it helps to look at the entire process from start to finish. You can walk through the broader sequence—from excavation to final grooming—on the installation timeline page. Viewing everything together makes it easier to understand where the final inspection fits and why each earlier step affects what you’re checking now.
Quick-Reference Final Turf Installation Checklist
Use this condensed list as you walk your turf:
-
Surface & Base
- Smooth, even surface with slight slope
- No soft, spongy, or low spots
-
Turf Layout
- Consistent pile direction
- No overstretching or tension
- Full coverage to all edges
-
Seams
- Hard to notice from standing height
- No gaps, overlaps, or fraying
- Secure bond when gently tugged
-
Edges
- Flat, no curling or lifting
- Properly fastened and safe
- Clean transitions to other surfaces
-
Infill
- Even feel underfoot
- Blades standing, not matted
- No piles or bare sections
-
Grooming
- Turf brushed, blades upright
- Consistent, natural look
-
Drainage
- Water absorbs and exits, doesn’t pool
- Slope away from structures
-
Safety & Readiness
- No trip hazards
- Appropriate padding (if playground)
- Strong drainage in pet areas
-
Wrap-Up
- Site fully cleaned
- Maintenance guidance given
- Warranty and contacts provided
FAQ: Final Turf Installation Checklist & Turf Readiness
| Question | Answer |
|---|---|
| How do I know if my turf installation is actually finished? | Use a structured final turf installation checklist: Surface feels even and stable Seams and edges are secure and subtle Infill is even and blades are upright Water drains instead of pooling Area is cleaned, and you’ve received care instructions |
| What are the most common issues to look for at the end? | The issues most often caught by a final turf installation checklist include: Visible seams Edges starting to curl Uneven infill causing soft or hard spots Standing water after rinsing or rain Missed cleanup or leftover materials |
| Can I fix minor problems myself after installation? | Some small issues can be addressed: Light brushing to lift flattened fibers Redistributing loose infill with a stiff broom Cleaning up minor debris For seams, lifting edges, or drainage problems, it’s better to contact the installer and reference your final turf installation checklist notes. |
| When should I perform my final walkthrough? | Ideally, do the walkthrough: Immediately after installation is complete Before the crew leaves the site While there is still good daylight to see details |
| What if I notice issues a few days after the install? | Document them clearly: Take photos from multiple angles Note where on your final turf installation checklist the problem fits (seams, edges, drainage, etc.) Contact your installer with specific examples, not just general concerns Many installers expect a brief adjustment period and can address early concerns under their workmanship terms. |
By using a thoughtful final turf installation checklist, you give yourself a clear, practical way to judge quality, ask informed questions, and feel confident stepping onto your new turf—knowing it’s truly ready for everyday life.
Explore Related Turf Resources
Related Turf Guides
- Accessible Drainage Solutions for Turf: The Key to Truly Senior-Friendly Outdoor Spaces
If you’re exploring senior-friendly turf, accessible drainage solutions for turf are just as important as the turf itself.
- Aesthetic Comparison: Turf vs. Grass (and What Actually Looks Better Long-Term)
If you’re weighing turf pros and cons, the **aesthetic differences between turf and grass** are probably at the top of your list.
- Annual Turf Care Calendar: Your Simple, Seasonal Guide to a Healthier Lawn
If you’re wondering, “What should I be doing for my lawn right now?” the answer lives inside an **annual turf care calendar**.
- Are luxury artificial turf options worth the investment for DFW homeowners?
Yes, upgrading to luxury artificial grass offers unmatched aesthetics, superior durability, and a premium feel that significantly elevates your home’s outdoor living experience and long-term value.
- Are you tired of staring at a dull, high-maintenance patch of grass?
**Yes, you can absolutely transform your yard into a stunning, functional space with a backyard landscaping makeover, and synthetic turf is often the key ingredient for DFW homeowners.**