
The Definitive Guide to Professional Turf Seam Repair for Homeowners
##?
Effective artificial turf seam repair involves cleaning and preparing the seam area, applying specialized, waterproof adhesive, and firmly bonding the edges of the turf together to prevent lifting, buckling, and tripping hazards. For DFW homeowners, performing timely and professional seam repair is critical for maintaining the longevity and aesthetic integrity of their turf investment, ensuring a flawless, consistent appearance.
2. Deep Dive (Detailed Why and How)
What causes artificial turf seams to fail?
While synthetic grass is exceptionally durable, the seams—where two rolls of turf meet—are the most vulnerable point. Seam failure is typically caused by improper initial installation (insufficient adhesive or poorly prepared sub-base), thermal expansion and contraction due to the intense Texas heat, heavy foot traffic, or continuous water exposure (like from irrigation or dog urine).
Addressing a lifting seam immediately is essential. Ignoring a minor lift can quickly lead to the seam opening further, allowing infill to escape, and presenting a significant tripping hazard for family and pets.
The Professional Repair Process: Step-by-Step
A professional seam repair differs significantly from a quick patch job. It requires meticulous attention to detail to ensure the repair is permanent and invisible:
- Inspection and Preparation: The area is thoroughly inspected to assess the extent of the damage. The seam is carefully lifted, cleaned of all old adhesive, dirt, and infill, and the sub-base beneath the seam is checked for stability.
- Applying the Seaming Cloth: A new, high-quality seaming cloth (or tape) is centered underneath the two pieces of turf. This tape provides the foundation for the adhesive bond.
- Specialized Adhesive Application: A commercial-grade, moisture-curing polyurethane adhesive is applied evenly across the seaming cloth. This adhesive is formulated to resist the intense sun and heat of the DFW climate.
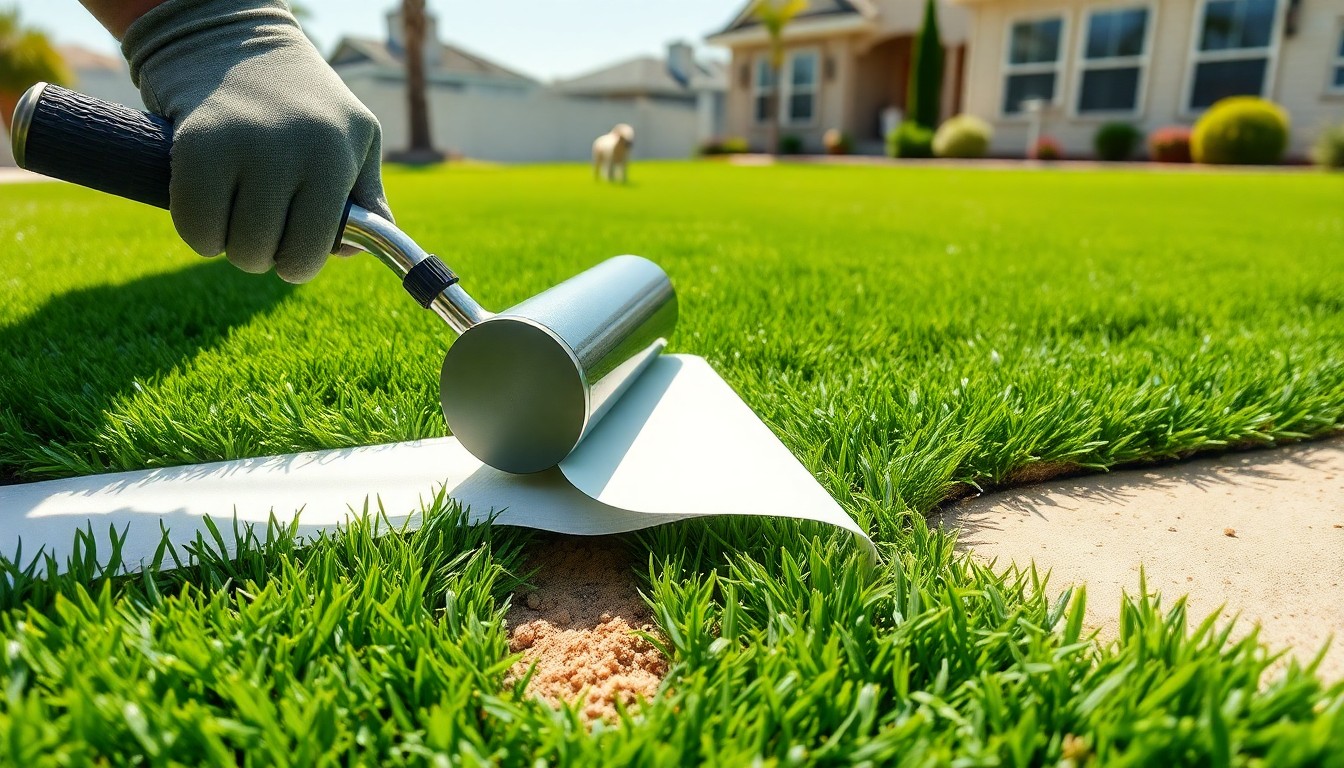
- The Bonding: The edges of the turf rolls are carefully placed back onto the adhesive, ensuring the fibers interlock naturally. A weighted roller is often used to ensure maximum contact and pressure along the entire length of the seam.
- Curing Time: The seam must be left undisturbed for the required curing time (usually 24 hours) to achieve maximum tensile strength, resulting in a durable, near-invisible bond.
Choosing the right adhesive and ensuring proper preparation are non-negotiable steps to guaranteeing a permanent fix that blends seamlessly with the rest of your lawn.
3. Quick Reference (Bulleted Key Takeaways)
- Identify Causes: Seam failure is most often due to poor initial installation or thermal stress (Texas heat).
- Preparation is Key: Successful repair requires thoroughly cleaning the existing seam and stabilizing the underlying base.
- Use Commercial Adhesive: Use only specialized, moisture-curing polyurethane glue for a permanent, waterproof bond.
- Press and Cure: Apply pressure to the newly glued seam and allow a full 24 hours for the adhesive to cure properly before use.
4. Strategic Hyperlink
Since heat management is a leading factor in seam integrity, understanding how temperature affects your turf is vital. Learn more about proactive measures you can take to protect your investment in our guide on: proper turf seam repair and heat resistance.
Explore Related Turf Resources
Related Turf Guides
- Accessible Drainage Solutions for Turf: The Key to Truly Senior-Friendly Outdoor Spaces
If you’re exploring senior-friendly turf, accessible drainage solutions for turf are just as important as the turf itself.
- Aesthetic Comparison: Turf vs. Grass (and What Actually Looks Better Long-Term)
If you’re weighing turf pros and cons, the **aesthetic differences between turf and grass** are probably at the top of your list.
- Annual Turf Care Calendar: Your Simple, Seasonal Guide to a Healthier Lawn
If you’re wondering, “What should I be doing for my lawn right now?” the answer lives inside an **annual turf care calendar**.
- Are luxury artificial turf options worth the investment for DFW homeowners?
Yes, upgrading to luxury artificial grass offers unmatched aesthetics, superior durability, and a premium feel that significantly elevates your home’s outdoor living experience and long-term value.
- Are you tired of staring at a dull, high-maintenance patch of grass?
**Yes, you can absolutely transform your yard into a stunning, functional space with a backyard landscaping makeover, and synthetic turf is often the key ingredient for DFW homeowners.**