
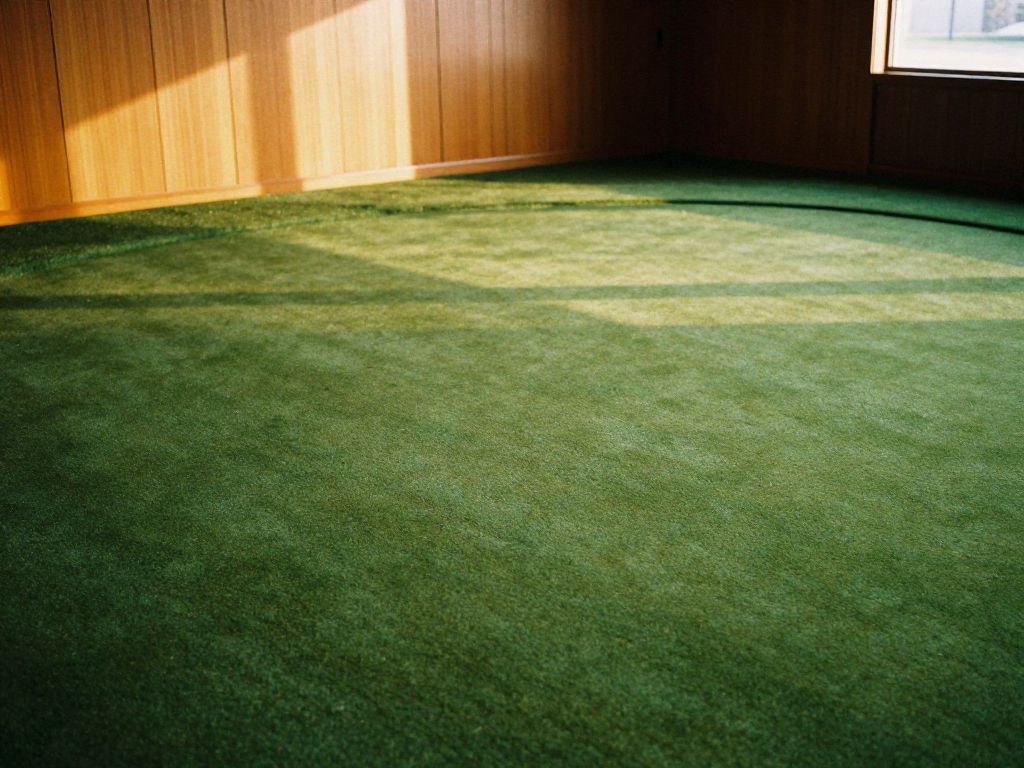
What Are Your Best Indoor Putting Green Options Right Now?
If you’re looking at indoor putting green options, you’re probably asking one simple question:
“What’s the best way to practice putting at home (or in the office) so it actually improves my game?”
In other words:
You don’t just want another golf gadget—you want an indoor putting green setup that feels close to real turf, fits your space, and makes practice something you’ll actually do.
Here’s the short answer:
- Start by choosing the right putting green turf (speed, roll, and realism matter more than bells and whistles).
- Match the size and layout to your space (straight, breaking, or multi-hole designs).
- Decide how permanent you want it to be (portable mat vs. custom install).
- Plan a simple practice zone—putts, short chips, and maybe a small chipping turf area if you have room.
The rest of this guide walks step-by-step through those decisions so you understand your indoor putting green options clearly and can build a setup that actually works for you.
Why Indoor Putting Greens Matter More Than You Think
Putting isn’t about power—it’s about precision, tempo, and confidence. That’s exactly why indoor practice is so powerful:
- You can repeat the same motion under consistent conditions.
- You remove weather, course conditions, and distractions.
- You build muscle memory for stroke and speed control, not just luck.
A thoughtfully chosen indoor putting green, built on quality putting green turf, can:
- Make 10–20 minutes of daily practice realistic.
- Help you dial in putts inside 10 feet—the ones that actually lower scores.
- Turn wasted space into a productive practice zone (office, basement, spare room).
Indoor putting green options range from basic roll-out mats to fully custom turf builds. The key is understanding which level matches your goals, space, and budget.
The 4 Main Types of Indoor Putting Green Options
Understanding the landscape of options will keep you from overbuying—or getting something that’s just a toy.
1. Simple Roll-Out Putting Mats
Best for:
- Beginners
- Tight budgets
- Temporary or multi-use rooms
What they are:
Thin mats you roll out on the floor, usually with printed alignment lines or a simple target.
- Pros:
- Affordable and easy to store
- Great for working on straight putts and stroke mechanics
- No installation required
Cons:
- Often don’t feel like real putting green turf
- Can bunch, wrinkle, or shift
- Limited break and slope simulation
Ideal if:
You want to start now, test your commitment to indoor practice, and keep your space flexible.
2. Modular Indoor Putting Greens
Best for:
- Intermediate players
- People who want a small “home practice studio”
- Offices, rec rooms, or shared spaces
What they are:
Pre-shaped or tile-based systems that snap together, usually topped with synthetic putting green turf. They may include built-in cups, slight breaks, and fringe.
- Pros:
- More realistic roll than most basic mats
- Can reconfigure layouts
- Often include multiple putting holes
Cons:
- Costs more than basic mats
- May require a dedicated area
- Some systems still feel “plastic” compared to higher-end turf
Ideal if:
You want an indoor putting green that’s more permanent and realistic, but still modular and not fully custom-built.
3. Custom-Fit Indoor Putting Greens (Wall-to-Wall or Room Zones)
Best for:
- Serious golfers
- Long-term homes or offices
- Dedicated practice rooms, basements, or garages
What they are:
Custom-cut putting green turf installed over a prepared base, often with:
- Integrated cups
- Subtle slopes or tiers
- Surrounding fringe or rough
- The option to add a chipping turf area next to the green
Pros:
- Highly realistic roll and speed
- Can be tailored to your stroke and practice goals
- Clean, integrated look within the room
- Can include both putting and short-game practice zones
Cons:
- Higher upfront investment
- More involved planning and installation
- Not easily moved if you relocate
Ideal if:
You view putting practice as part of your long-term improvement and want indoor turf that feels and behaves like a real green.
4. Hybrid Practice Zones (Putting + Chipping + Short Game)
Best for:
- Golfers focused on scoring, not just stroke mechanics
- Homes with basements, bonus rooms, or garages
- Training-minded players and coaches
What they are:
Indoor setups that combine:
- Putting green turf for rolling putts
- Chipping turf areas for bump-and-runs and short pitches
- Optional practice nets and targets
Pros:
- Realistic simulation of on-course short-game scenarios
- Lets you practice landing spots and rollout, not just start line
- Creates a comprehensive “indoor short game lab”
Cons:
- Requires more space and planning
- Higher cost and more permanent than a single mat
Ideal if:
You want to recreate the feel of a practice green and chipping zone indoors so your short game can improve year-round.
Why Putting Green Turf Quality Is the Foundation of Everything
No matter which indoor putting green option you choose, it all comes back to one factor:
How good is the putting green turf?
The surface you putt on has a direct impact on:
- Roll quality
- Speed consistency
- How much your practice translates to the course
Key Qualities of Good Putting Green Turf
Look for indoor putting green turf that offers:
-
True, predictable roll
- The ball shouldn’t wobble or bounce
- It should start and stay on your line
-
Consistent speed
- Similar to real greens you play on most often
- Not so fast it’s unrealistic or so slow it ruins your feel
-
Durability
- Designed for repeated traffic and impact
- Won’t mat down quickly in your primary stroke area
-
Visual clarity
- Smooth, uniform look
- Optional directional grain to help with alignment practice
When the turf mimics real putting conditions, every minute on your indoor putting green has real-world payoff.
Matching Indoor Putting Green Options to Your Space
Before you fall in love with any one idea, take a quick look at your room.
Step 1: Measure Your Space
Consider:
- Length: Can you fit 6–12 feet of putting surface?
- Width: Enough room to stand comfortably beside the green?
- Ceiling height: Usually not an issue for putting, but matters if adding chipping.
- Obstructions: Doors, furniture, vents, pillars.
Step 2: Decide How Permanent You Want It
Ask yourself:
- Is this a shared room (living room, office) or dedicated space (basement, golf room)?
- Do you plan to move in the next few years?
- Will this area have other uses (playroom, media room)?
Match your answers to your indoor putting green options:
- Shared / temporary: Roll-out mats or modular greens
- Semi-dedicated / long-term: Larger modular or partial custom installs
- Dedicated / long-term: Full custom putting green turf installation, potentially with chipping turf areas
Designing an Indoor Putting Green That Actually Improves Your Putting
Indoor putting greens are more than just rectangles of turf. A few design choices can turn a green into a practice tool.
1. Prioritize Straight Putts First
Most strokes are broken not by reading break, but by poor start line and face control.
- Include at least one perfectly straight lane (10–12 feet if possible).
- Mark a start-line track or use alignment aids to groove your stroke.
2. Add Variety with Multiple Cups
Instead of one hole at one end:
- Add 2–4 cups at different distances and angles.
- Include short putts (3–6 feet) for confidence building.
- Consider one slightly uphill putt to practice firmer strokes.
3. Use Gentle Slopes, Not Crazy Breaks
Massive slopes are fun, but less useful long term.
- Aim for subtle breaks—enough to practice read and speed, not circus putts.
- If you’re using a custom build, shape the base to mimic realistic green contours.
4. Think Beyond the Hole: Fringe and Surround
A bit of fringe or rough-style turf around your putting green:
- Helps visually define the green
- Protects walls and furniture
- Sets you up to later add a chipping turf area for bump-and-run practice
Integrating Chipping Turf Areas With Your Indoor Putting Green
Once your putting green turf is in place, the next natural evolution is short game.
A small chipping turf area next to or facing the green lets you:
- Practice low chips and bump-and-runs onto the putting surface
- Work on landing spots and rollout
- Rehearse “up and down” scenarios you’ll see on the course
Even a few feet of chipping turf, aimed at a section of your indoor putting green, can turn your simple green into a short game practice zone.
Practical Tips for Getting the Most Out of Indoor Putting Practice
Whichever indoor putting green option you choose, how you use it matters as much as what you buy.
Make Practice Short, Simple, and Repeatable
- 10–15 minutes, 3–5 times a week beats a single long session.
- Focus each session on one theme:
- Start line
- Distance control
- Pressure putts
Use Simple Drills
- Gate drill: Place two tees or small objects just wider than your putter head, and swing through without hitting them.
- Coin drill: Putt the ball so it consistently stops over or just past a coin.
- Ladder drill: Put targets at 3, 6, 9, and 12 feet and practice controlling distance.
Track Progress
Use a notebook or app to log:
- Make percentage from 3–6 feet
- Average leave distance on long putts
- Session notes and wins
Indoor putting greens are at their best when you treat them like a small lab—even a basic putting mat gains value when you track your results.
Common Mistakes to Avoid When Choosing Indoor Putting Green Options
- Choosing size over quality: A long but unrealistic mat is less useful than a shorter, truer-rolling green.
- Ignoring your real playing conditions: Match turf speed roughly to the greens you play most.
- Overloading features: Too many gimmicks can distract from pure putting fundamentals.
- Not planning the room: Measure first; plan walkways, storage, and seating around your green.
- Skipping the short game: If space allows, consider how a chipping turf area could grow your setup over time.
FAQ: Indoor Putting Greens & Putting Green Turf
General Questions
| Question | Answer |
|---|---|
| What’s the minimum space I need for an indoor putting green? | Aim for at least 8–10 feet in length and 3–4 feet in width for basic straight-putt practice. Bigger spaces allow more holes and angles. |
| Do indoor putting greens really help my score? | Yes—if you use them regularly and focus on start line and distance control. Most golfers see the biggest score improvement from inside 10 feet and from reducing three-putts. |
| Are indoor putting greens only for advanced players? | Not at all. Beginners arguably benefit the most, since putting fundamentals are easier to build in a controlled environment. |
Turf & Performance
| Question | Answer |
|---|---|
| How important is putting green turf quality? | It’s critical. Realistic roll and speed determine how well your indoor practice transfers to the course. Higher-quality turf also lasts longer under daily use. |
| Can I adjust the speed of my indoor putting green? | To a point. Some systems allow adjustments via underlayments or brushing. However, the base speed is set by the turf type, so choose one that roughly matches your usual courses. |
| Will the turf wear down in my primary putting area? | Over time, yes—especially with lower-quality turf. Premium putting green turf is designed to handle concentrated traffic and maintain performance longer. |
Installation & Space
| Question | Answer |
|---|---|
| Do I need professional installation? | For roll-out mats and most modular greens, no. For custom-built indoor putting greens with formed slopes and integrated cups, professional help is often recommended. |
| Can I install an indoor putting green over carpet? | Yes, but a firmer base is generally better. Many golfers place modular systems or a thin underlayment over carpet to create a more stable, consistent surface. |
| What if my room isn’t perfectly level? | Slight unevenness can be managed with underlayments or the shaping of your base. Larger slopes may need leveling work or a purpose-built subfloor for best performance. |
Expanding Your Setup
| Question | Answer |
|---|---|
| Can I add a chipping area to my existing indoor putting green? | In many cases, yes. You can introduce a chipping turf area alongside your current green to practice chips that land on the putting surface. |
| How much space do I need for chipping practice indoors? | Even 6–10 feet of distance between a chipping spot and your green is enough for basic bump-and-run and low chip shots. More space allows higher trajectories. |
| Should I build everything at once? | Not necessarily. Many golfers start with a quality indoor putting green, then expand over time with fringe, rough, or chipping turf areas as their needs and space evolve. |
As you explore indoor putting green options, keep bringing it back to the core idea:
A realistic, well-planned putting green turf surface that you’ll use consistently is far more valuable than a flashy setup you rarely touch.
Start with the space you have, choose the turf that feels right under the ball, and let your practice zone grow with your game.
Explore Related Turf Resources
Related Turf Guides
- Backyard Golf Ideas: How to Turn Your Yard into a Personal Putting Playground
If you’re looking for backyard golf course ideas that feel fun, low-maintenance, and actually help your game, start with this simple principle:
- Backyard Putting Green Cost Estimate
The cost of an expertly installed artificial turf putting green for a DFW home typically ranges based on size, complexity, turf quality, and necessary ground preparation. Homeowners should anticipa...
- Ball Roll Speed Optimization: The Definitive Guide to Achieving Tournament-Grade Consistency on Your Artificial Putting Green
Ball Roll Speed Optimization: The Definitive Guide to Achieving Tournament-Grade Consistency on Your Artificial Putting Green
- Best Home Chipping Practice Turf
The ideal artificial turf for a home chipping practice area is a densely packed, short-pile synthetic grass designed to replicate the tight lie of a professional fairway or fringe, ensuring clubs interact cleanly with the "ground" for consistent ball striking and realistic performance.
- Can I install artificial turf directly over a concrete patio or slab?
Yes, absolutely! Installing artificial turf over concrete is an excellent way for DFW homeowners to transform drab, hard surfaces into beautiful, soft, and functional green spaces.