
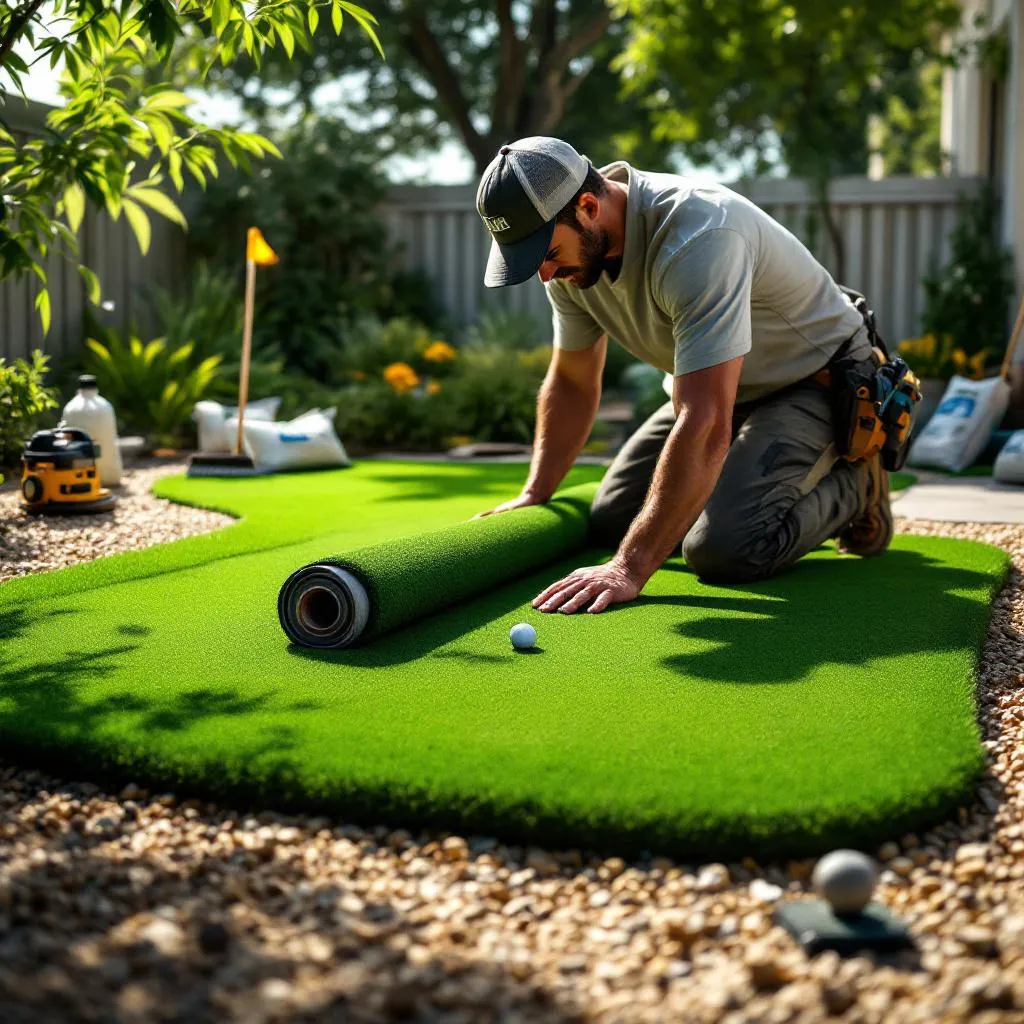
The Definitive Guide to DIY Putting Green Installation
##?
Successfully installing a DIY artificial turf putting green requires meticulous preparation of the sub-base, precise contouring for realistic breaks, careful securing of the turf, and proper infill application to control speed and ball roll. For solution-aware homeowners, a well-executed DIY project offers a customizable, low-maintenance amenity that brings professional-grade practice right to your backyard.
2. Deep Dive (Detailed Why and How)
The decision to install your own putting green turf is an investment in your game and your property. While professional installation guarantees perfection, taking the DIY route allows for significant cost savings, provided you pay close attention to the critical phases of the process.
Phase 1: Excavation and Base Preparation The longevity and performance of your putting green depend almost entirely on the base. Start by excavating the designated area to a depth of 4 to 6 inches. This ensures adequate space for the base layers and drainage. Next, lay down a weed barrier fabric to prevent growth from compromising the surface over time.
Phase 2: Contouring and Shaping This is where you determine the realism of your green. Use crushed aggregate (like crushed limestone or decomposed granite) for the primary base layer. Compact this base in 2-inch lifts using a plate compactor. To create natural breaks and slopes, add varying thicknesses of base material. Remember, subtle contours are far more effective than dramatic, unrealistic hills.
Phase 3: Installing the Putting Green Turf Once the base is perfectly compacted and smooth, roll out the putting green turf. Allow it to relax for several hours under the sun to remove creases. When joining seams, use professional-grade seam tape and adhesive, ensuring the turf pile direction is consistent across all pieces. Secure the edges of the turf using landscape nails or staples, spacing them every 6 inches around the perimeter.
Phase 4: Cutting Holes and Applying Infill Use a professional cup cutter to establish the precise locations for your hole cups and install them flush with the base. Finally, apply the specialized putting green infill (typically rounded silica sand or coated granules). This infill stabilizes the fibers, provides ballast, and, most importantly, controls the speed (stimp) of the ball roll. You will need to brush the infill deep into the fibers using a power broom or stiff-bristled push broom.
3. Quick Reference (Bulleted Key Takeaways)
- Base is Paramount: Excavate 4-6 inches and use crushed aggregate, compacted meticulously.
- Contour Realism: Build subtle slopes using the base material before laying turf.
- Seam Alignment: Ensure all turf pieces face the same direction before cutting and seaming.
- Infill Controls Speed: Use specialized infill and a power broom to achieve a consistent ball roll.
- Secure Edges: Nail or staple the perimeter every 6 inches to prevent lifting and shifting.
4. Strategic Hyperlink
While the DIY approach is rewarding, the most common mistakes occur during base preparation and seaming, which can permanently affect ball performance. To weigh the benefits of a guarantee against potential labor challenges, we recommend reviewing expert advice on advanced techniques in our guide on DIY putting green installation tips.
Explore Related Turf Resources
Related Turf Guides
- Backyard Golf Ideas: How to Turn Your Yard into a Personal Putting Playground
If you’re looking for backyard golf course ideas that feel fun, low-maintenance, and actually help your game, start with this simple principle:
- Backyard Putting Green Cost Estimate
The cost of an expertly installed artificial turf putting green for a DFW home typically ranges based on size, complexity, turf quality, and necessary ground preparation. Homeowners should anticipa...
- Ball Roll Speed Optimization: The Definitive Guide to Achieving Tournament-Grade Consistency on Your Artificial Putting Green
Ball Roll Speed Optimization: The Definitive Guide to Achieving Tournament-Grade Consistency on Your Artificial Putting Green
- Best Home Chipping Practice Turf
The ideal artificial turf for a home chipping practice area is a densely packed, short-pile synthetic grass designed to replicate the tight lie of a professional fairway or fringe, ensuring clubs interact cleanly with the "ground" for consistent ball striking and realistic performance.
- Can I install artificial turf directly over a concrete patio or slab?
Yes, absolutely! Installing artificial turf over concrete is an excellent way for DFW homeowners to transform drab, hard surfaces into beautiful, soft, and functional green spaces.